

From a rust point of view the underbody of our Pinz was in good shape. Unfortunately it is/was one of these trucks who received a new body quite early and they tried some new things (which didnt work well). The metal was painted with a white paint and then coated with a plastic underbody coating. For one the coating didnt adhere well (better: not at all) to the paint and it was very brittle. For this reason the coating started to flake off in several places. On the other side its a big advantage! Usually underbody coating cant be removed by sandblasting but the brittle stuff can! A test at a local sandblasting company (Pro-Blast in Mesa) showed good results. As it doesnt make sense to blast around the boxes I drove home after several test areas were sandblasted.
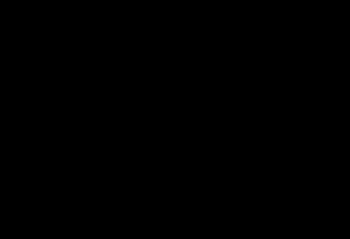

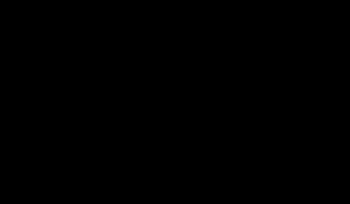
The top two pictures show how well the underbody coating went off. The bottom pictures show some of the flaked off undercoating. As I said, not all that bad but worth to be fixed.
The Gerry-can holder, toolbox and rock shields were removed to allow sandblasting behind and above them........As a big surprise all bolts went off without any problems thanks to the Swiss maintenance. They all were dipped into some graphite grease prior to assembly!!!
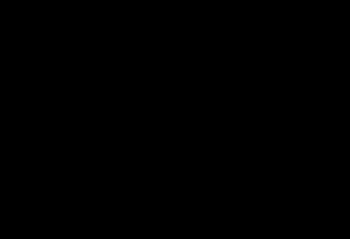
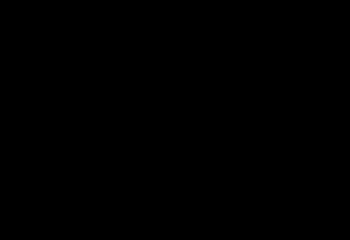
Front and side after sandblasting. The 2 thick wires in the left picture are the extensions for the battery cable (battery is inside the bed).If you believe the Pinz is noisy get the underbody coating off! Sounds like sitting in the center of a heavy machinery shop.......
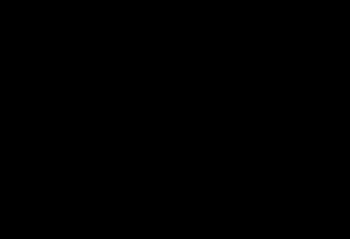
The sandblasted underbody was treated with por15 metal prep and then painted with one layer of black followed by a layer of grey por15, a polymeric isocyanate derivative antirust primer. Using the different color por15 will show where you forgot to paint.
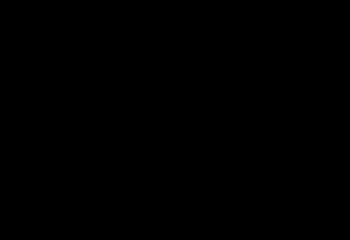
First layer of black por15 and second layer of grey are on. My wife volunteered to do the grey, opposite to me she loves painting, splashes less paint and is faster.........
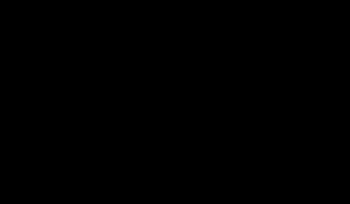
Two layers of Wurth SKS Stone guard (black, 5 liters) were applied by brush over the por15 primer to protect it from future hits of rocks. Due to the confined space in most places I applied the SKS with a brush which unfortunately doesnt allow you to make a thick enough layer in one run. Again, the grey last layer of por15 makes it easy to see where you screwed up......
After hours of work the Pinz looks similar to where we started........ (no picture as it looks just like the black por15).
Next step are the boxes and gerry can holder. They were taken apart, cleaned and the paint stripped. Only the battery box is done at this time as there are other plans for the rest.
© 2002-2005, K. Juergen Schoepf